Bake Sale Favorite: Irresistible Peanut Butter Cookie Cups
Few treats evoke as much nostalgic joy and universal appeal as the humble peanut butter cookie. Now, imagine taking that chewy, nutty goodness and elevating it to an entirely new level with a surprise chocolate peanut butter cup center. Welcome to the world of peanut butter cookie cups – a bite-sized marvel that effortlessly combines two beloved confections into one utterly irresistible package. Perfect for bake sales, holiday platters, or simply as an afternoon pick-me-up, these delightful morsels are not just a dessert; they're a guaranteed crowd-pleaser that's surprisingly easy to master.
Whether you're a seasoned baker or just starting your culinary journey, these Ingredient Peanut Butter Cookie Cups: The Easiest Recipe offer a fantastic entry point into creating something truly special. The magic lies in their simplicity and the undeniable combination of sweet and salty, soft and melty. Get ready to discover your new favorite treat!
Why Peanut Butter Cookie Cups Are a Universal Crowd-Pleaser
The enduring popularity of peanut butter cookie cups isn't just a happy accident; it's a testament to their inherent charm and convenience. Here’s why these delightful treats consistently steal the show:
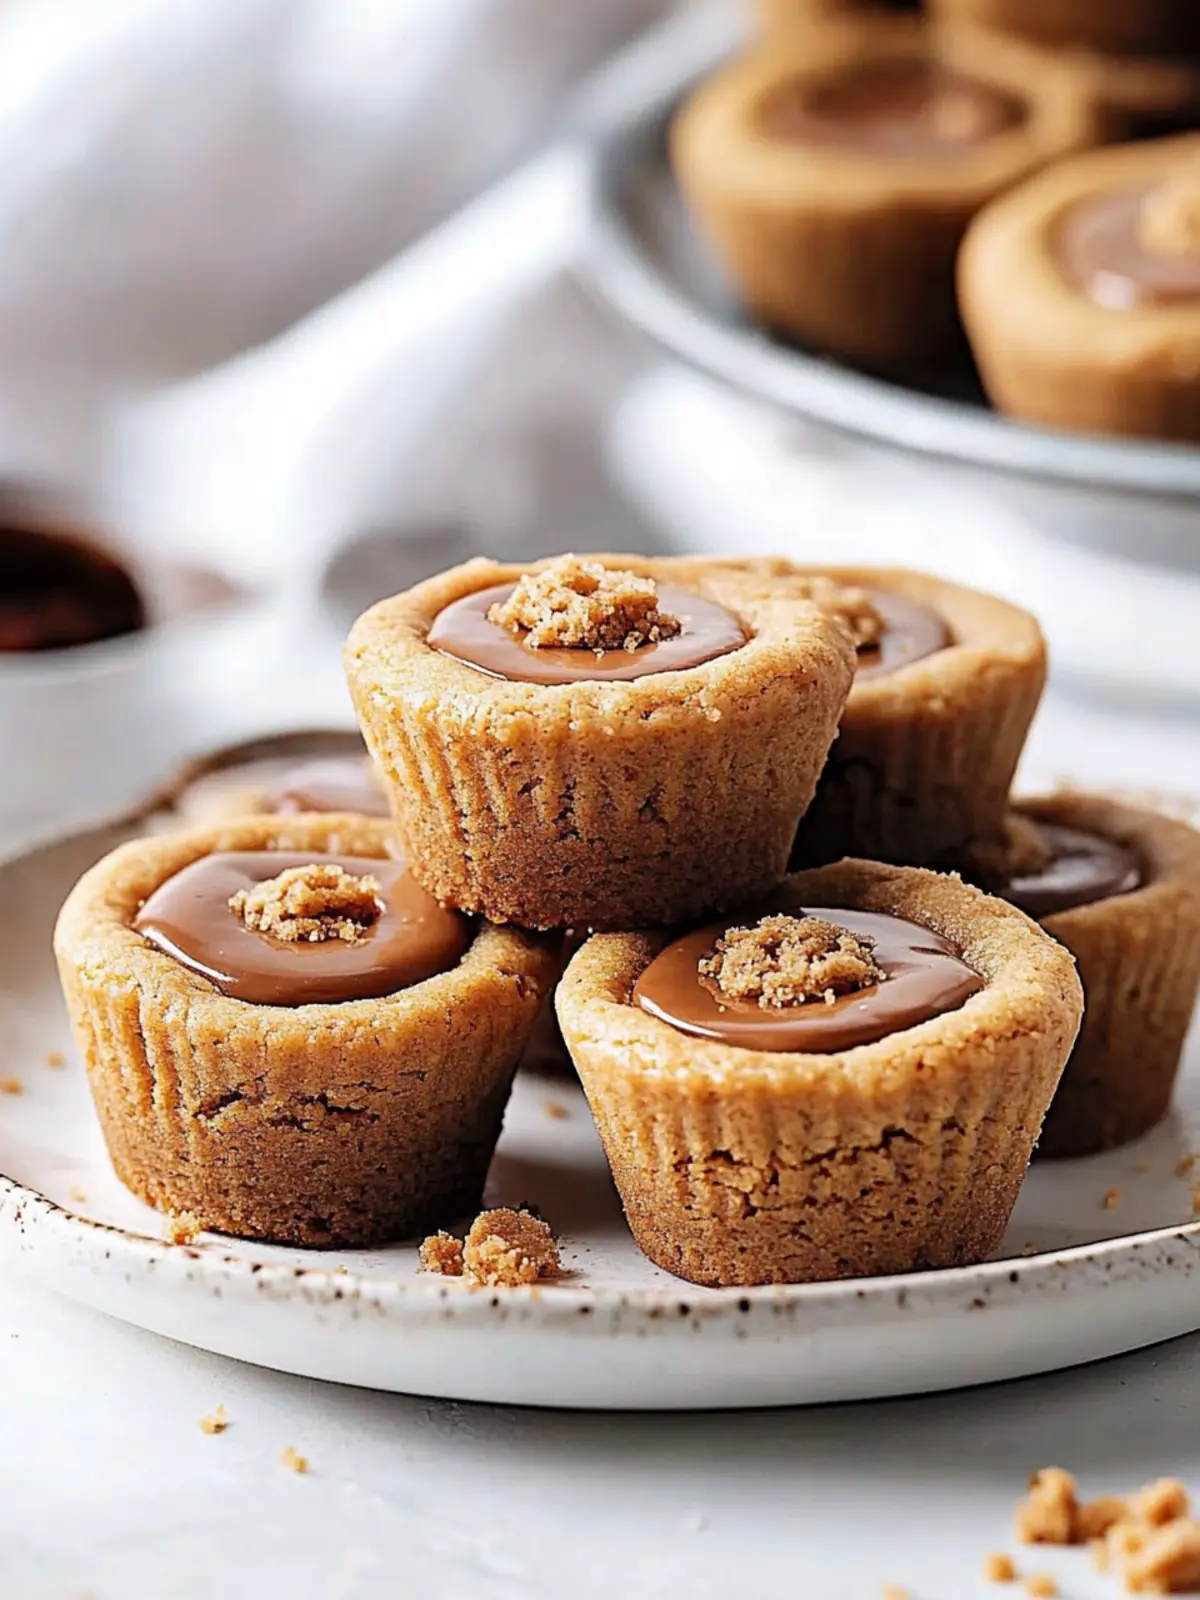
- Unbeatable Flavor Combination: The marriage of a rich, chewy peanut butter cookie base with a gooey, melted chocolate peanut butter cup center is a match made in dessert heaven. The distinct salty-sweet profile of peanut butter perfectly complements the smooth, creamy chocolate, creating a symphony of flavors in every bite.
- Perfectly Portioned: Baked in miniature muffin tins, each cookie cup is an individual serving, making them ideal for parties, lunchboxes, or simply portion control (if you can manage just one!). Their bite-sized nature means less mess and more enjoyment.
- Effortlessly Impressive: Despite their sophisticated appearance and incredible taste, peanut butter cookie cups are remarkably straightforward to make. Many recipes, including the one we'll explore, can be prepped in minutes, making them a go-to for busy individuals. As one busy schoolteacher and pastor's wife, Kristi Tackett, shared, she wouldn't dare show her face at a church dinner or bake sale without these tempting treats – they're quick, easy, and always a hit!
- Kid-Friendly Fun: Children absolutely adore these cookies, not just for eating but also for helping to make them. From rolling the dough balls to pressing in the peanut butter cups, there are plenty of steps for little hands to assist with, fostering a love for baking from a young age.
- Versatile for Any Occasion: From casual family desserts to elegant potlucks, bake sales, holiday gatherings, or even a thoughtful homemade gift, peanut butter cookie cups fit seamlessly into any setting. Their universal appeal ensures they disappear quickly, no matter the event.
Crafting Your Own Irresistible Peanut Butter Cookie Cups: The Ultimate Recipe
While there are expedited versions using pre-made cookie dough or mixes, nothing quite beats the satisfaction and flavor of baking easy peanut butter cookie cups from scratch. This recipe provides a wonderfully chewy cookie base that perfectly cradles its delightful chocolatey heart.
What You'll Need: Ingredients & Equipment
Ingredients:
- 1/2 cup (1 stick) unsalted butter, softened
- 1/2 cup granulated sugar
- 1/2 cup packed light brown sugar
- 1/2 cup creamy peanut butter (processed brands like Jif or Skippy often yield more consistent results for baking due to their oil content)
- 1 large egg
- 1 teaspoon vanilla extract
- 1 1/4 cups all-purpose flour
- 1/2 teaspoon baking soda
- 1/4 teaspoon salt
- 36 miniature peanut butter cups, unwrapped (e.g., Reese's Miniatures)
Equipment:
- Miniature muffin pan (standard 24-cup works well, you might need two or bake in batches)
- Non-stick cooking spray
- Large mixing bowl
- Electric mixer (handheld or stand mixer)
- Rubber spatula
- Wire cooling rack
Step-by-Step Baking Instructions:
- Prepare for Baking: Preheat your oven to 350°F (175°C). Generously spray your miniature muffin pan(s) with non-stick cooking spray. This crucial step prevents sticking and makes removal a breeze. Set aside.
- Cream the Wet Ingredients: In your large mixing bowl, combine the softened butter, granulated sugar, brown sugar, and creamy peanut butter. Using an electric mixer, beat at medium speed, scraping down the sides of the bowl often, until the mixture is light, fluffy, and creamy. This typically takes 2-3 minutes.
- Add Egg and Vanilla: Crack in the large egg and add the vanilla extract. Continue beating at medium speed until these are thoroughly incorporated into the mixture. The dough should look smooth and well-blended.
- Incorporate Dry Ingredients: In a separate small bowl, whisk together the flour, baking soda, and salt. Gradually add this dry mixture to the wet ingredients in the large bowl. Beat at low speed, scraping the bowl as needed, until the flour is just combined and no streaks remain. Be careful not to overmix, as this can lead to tough cookies.
- Shape and Place Dough: Roll the cookie dough into small, 1-inch balls. Place one ball into each prepared miniature muffin cup. You can gently press the dough down to form a flat base, or even press it slightly up the sides of the cup if you prefer a more defined "cup" shape for the filling later.
- Bake to Perfection: Transfer the muffin pan(s) to the preheated oven. Bake for 11-13 minutes, or until the edges are lightly browned and the centers are set but still look soft. The key here is not to overbake, as you want a chewy cookie.
- The Peanut Butter Cup Magic: As soon as you remove the pan from the oven, immediately take one unwrapped miniature peanut butter cup and gently press it into the center of each hot cookie. The warmth of the cookie will slightly melt the chocolate, allowing it to adhere perfectly and create that irresistible gooey center.
- Cool Completely: Allow the cookie cups to cool in the muffin pan for at least 15-20 minutes. This allows them to firm up before handling. Then, carefully remove them from the pan and transfer them to a wire cooling rack to cool completely. Cooling completely is important for their structure and for the chocolate to set properly.
Tips for Perfect Peanut Butter Cookie Cups Every Time
Achieving bakery-quality Ingredient Peanut Butter Cookie Cups: The Easiest Recipe at home is entirely possible with a few insider tips:
- Peanut Butter Consistency Matters: For consistent results, especially if you're new to baking these, opt for creamy, processed peanut butter (like Jif or Skippy). Natural peanut butter, with its varying oil separation, can sometimes alter the dough's texture.
- Don't Overbake: Overbaking is the enemy of a chewy cookie. Aim for "lightly browned edges" and a center that looks just set. The cookies will continue to cook slightly as they cool in the hot pan.
- Timing is Everything for the Filling: Press those peanut butter cups into the cookies immediately after they come out of the oven. This allows the residual heat to gently melt the chocolate and create that perfect, slightly gooey, adhered center. If you wait too long, the cookies will firm up, and the cups won't meld as well.
- Proper Cooling: Be patient during the cooling process. Letting them cool in the pan for the initial 15-20 minutes helps them set and prevents them from falling apart when removed. Complete cooling on a wire rack ensures the chocolate fully re-solidifies and the cookie develops its final texture.
- Storage Solutions: Store your cooled peanut butter cookie cups in an airtight container at room temperature for up to 3-4 days. For longer storage, they freeze beautifully for up to 3 months. Thaw at room temperature or warm slightly in the microwave for a fresh-baked feel.
- Creative Variations:
- Chocolate Drizzle: Once completely cooled, melt some extra chocolate chips and drizzle over the top for an extra touch of decadence.
- Sprinkles: Add a sprinkle of festive sprinkles on top of the warm, pressed-in peanut butter cups for a pop of color, especially great for parties or holidays.
- Flaky Sea Salt: A tiny sprinkle of flaky sea salt on top of each warm cookie cup enhances the sweet and salty flavors, adding a gourmet touch.
- Different Fillings: While this article focuses on peanut butter cups, you could experiment with other small candies, like Rolo candies for a caramel twist, though you'd technically be deviating from the "peanut butter cookie cup" name.
- Batch Size: This recipe makes about 3 dozen cookie cups. If you're feeding a larger crowd or want to stock up, feel free to double the recipe!
Conclusion
Peanut butter cookie cups are more than just a treat; they're a testament to how simple ingredients, combined with a little love and a clever twist, can create something truly extraordinary. Their irresistible combination of chewy peanut butter cookie and a melty, rich peanut butter cup center makes them an instant hit with everyone, from the pickiest eaters to the most discerning dessert connoisseurs. Easy to make, delightful to share, and impossible to resist, these cookie cups are destined to become a staple in your baking repertoire. So, gather your ingredients, preheat your oven, and prepare to bake a batch of pure happiness!
